Choosing a dress that flatters comes down to one thing: picking a silhouette that works with your natural proportions. Here’s how to do it for every body type.
Ever zip up a gorgeous dress only to see something feel off in the mirror? The color is perfect, the fabric feels amazing, yet the fit seems to shout rather than flatter. The secret isn’t shapewear — it’s choosing a silhouette that works with your natural proportions, not against them.
Step 1: Identify Your Body Shape
Measurements eliminate guesswork. Grab a cloth tape and measure shoulders, bust, natural waist, and full hips. Compare the three key numbers using the 5% rule:
- Hourglass — Shoulders ≈ Hips, Waist ≥8″ smaller. Curvy balance.
- Pear / Triangle — Hips ≥5% wider than shoulders. Weight carried lower.
- Apple / Oval — Bust and mid-section fuller than hips. Undefined waist.
- Rectangle / Athletic — Shoulders, waist, hips all within 5%. Straight frame.
- Inverted Triangle — Shoulders ≥5% broader than hips. Strong upper body.
Step 2: Match Silhouettes to Your Shape
| Body Type | Best Silhouettes | Why It Works |
|---|---|---|
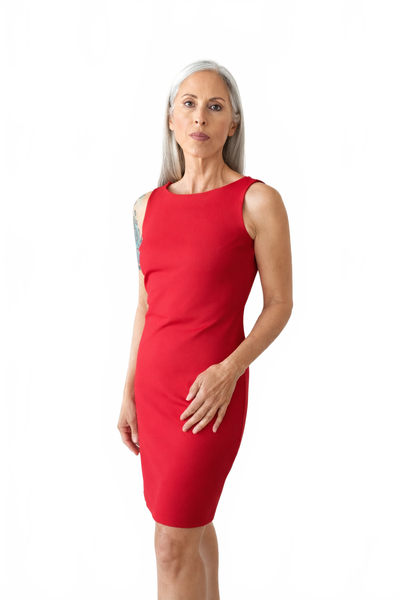
| Hourglass | Wrap, Bodycon, Belted Sheath | Traces curves, highlights waist |
| Pear / Triangle | A-Line, Fit-and-Flare, Off-Shoulder | Draws eye upward, skims hips |
| Apple / Oval | Empire Waist, Shift, V-Neck Midi | Vertical flow from narrowest point |
| Rectangle | Belted Shirt Dress, Ruffles, Drop Waist | Creates shape where frame is straight |
| Inverted Triangle | Fit-and-Flare, Circle Skirt, Scoop Neck | Adds volume below, softens shoulders |
Step 3: Choose the Right Neckline
| Body Type | Best Necklines |
|---|---|
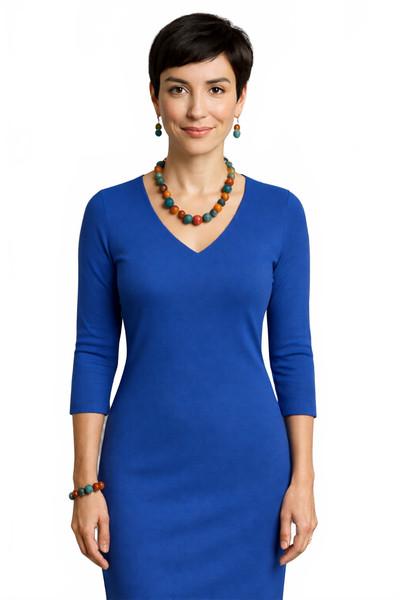
| Hourglass | V-neck, Sweetheart |
| Pear | Boatneck, Off-the-Shoulder |
| Apple | Deep V, Scoop, Surplice |
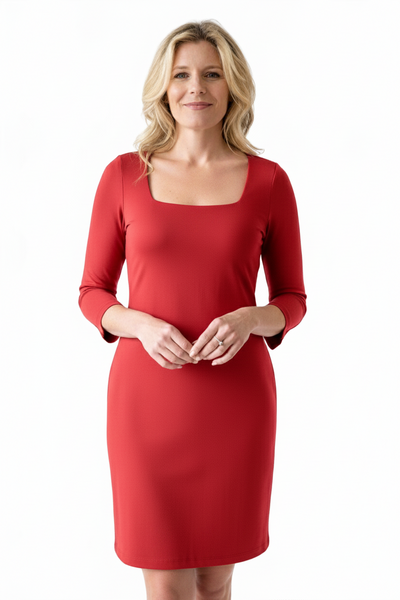
| Rectangle | Square, Crew, Cowl |
| Inverted Triangle | Scoop, U-neck, Plunging V |
Step 4: Fabric & Color Tips
- Apples: Fluid knits or Tencel blends that skim without clinging
- Hourglass: Stretchy ponte or double-knit that follows curves smoothly
- Pears: Structured skirt fabric (cotton sateen, twill) that floats away from hips
- Rectangles: Light gathered fabrics (rayon challis) that create volume when cinched
- Inverted Triangles: Airy chiffons or crepes below the waist for swing and balance
Color blocking tip: dark side panels + lighter center front = instant waist definition. Bright or printed bodice with solid darker skirt = eyes travel upward.
Step 5: Perfect the Fit
Even the best silhouette fails with poor fit. Common fixes: let out hip seams for pears, lengthen the bodice for apples, take in waist seams for rectangles. The alteration math: if cost ÷ expected wears ≤ $2, it’s worth it.
Find your perfect flattering dress.
JudyP dresses: Wrinkle-Free · UPF 50 · No zippers · Made in USA
Shop All Dresses →